Quick Tutorial
Using BatExplorer is easy, and this tutorial will take you through the basics. After this tutorial, you will be able to import your recordings and assign a species.
Step 1 – Create a Project
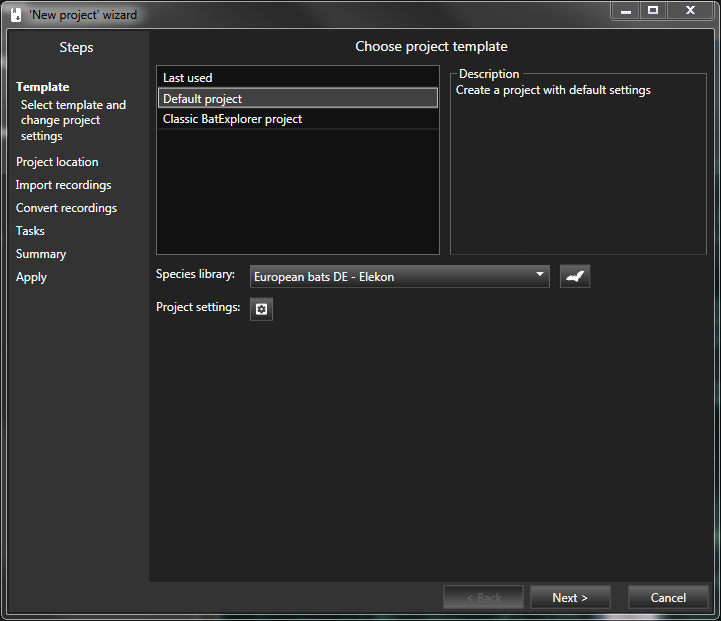
Before we can begin analysing the recordings, we need to import files into a project. A project is based on a project template that defines specific settings like e.g. analysis parameters. We use the default template in this example and leave the settings as is. Start the “New project” wizard and follow the instructions on the screen:
Choose the project template “Default Project” and click ‘Next’.
Enter a name and data location and click ‘Next’.
Step 2 – Import recordings
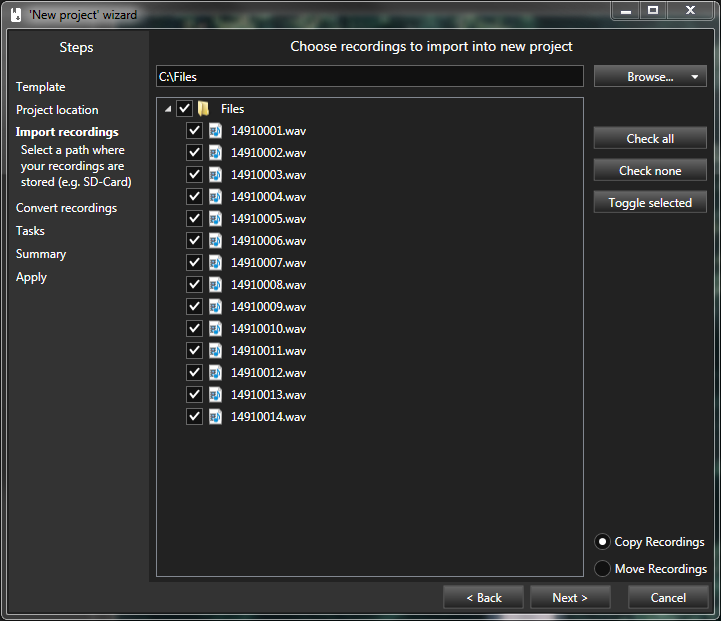
Enter the source location where the recordings are stored and check the recordings that should be imported. One or multiple files and folder can be checked.
Remember, is it recommended to choose “copy recordings” in order to copy the imported recordings to the project location when the wizard tasks are applied (see below) for backup reasons.
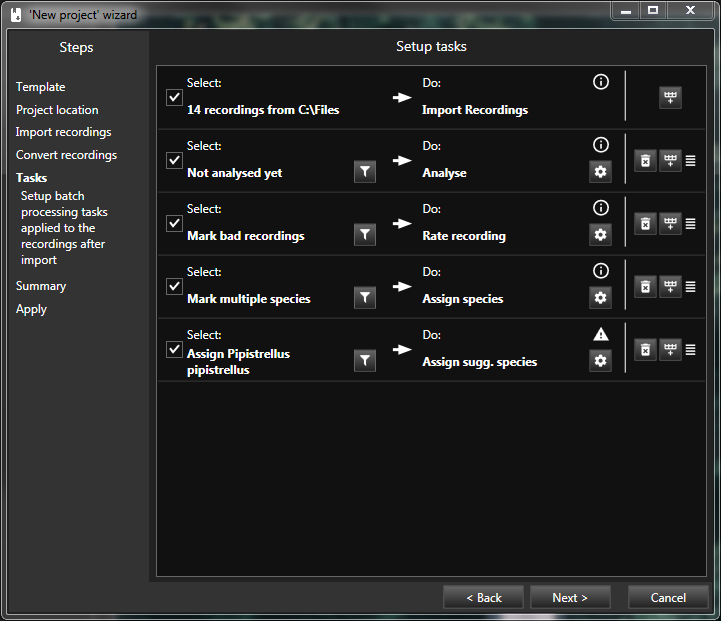
Step 3 – Setup tasks [1]
To speedup analysis, recurring tasks can be applied to the imported recordings. For example mark (or delete) recordings with bad quality, add notes to certain recordings or even assign species automatically. You can choose what tasks should be applied with the checkmark on the left-hand side. You can also add/remove/edit/reorder Tasks if needed. We leave everything to default for now.
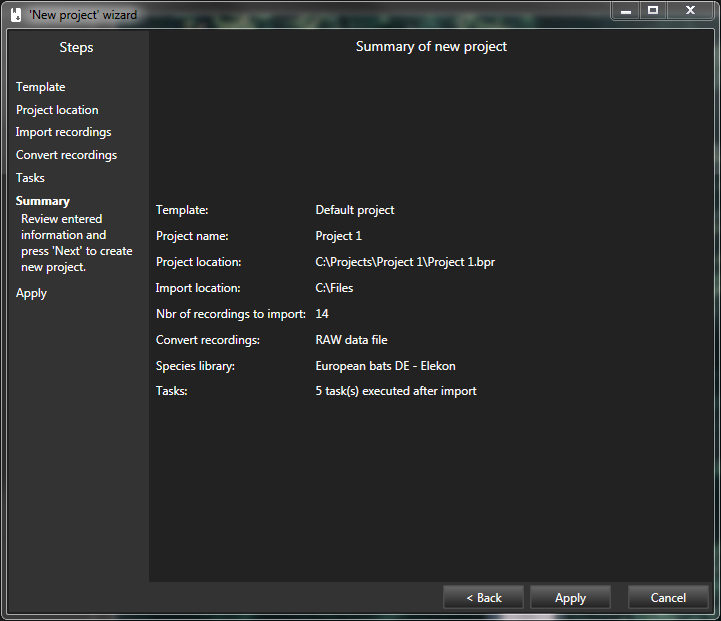
Step 4 – Apply and execute tasks
Now we are ready to start processing. Review the project parameters and hit ‘Apply’. The recordings will be imported, analysed (call detection) and processed. This will take a fair amount of time, depending on the number of recordings and the computer hardware available.
Step 5 – Analyse the bat calls and assign a species
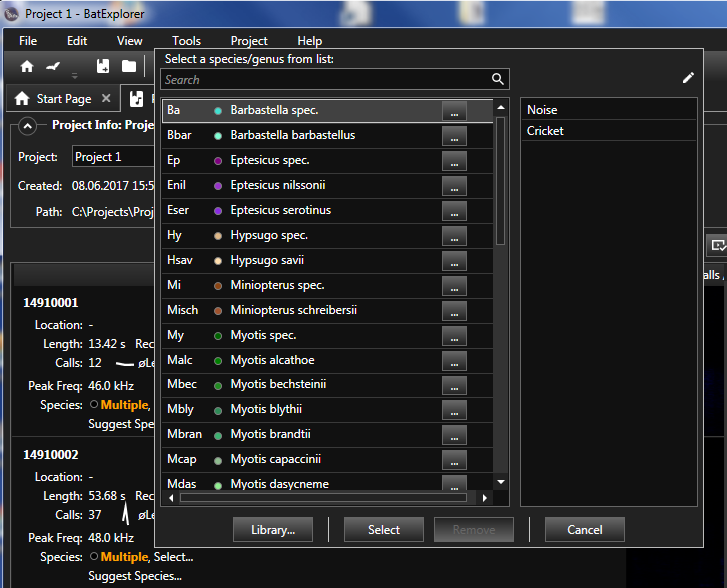
Once all the tasks are done, the next step is to review the recordings. All the recordings are listed on the ref:project_tab_ref together with their metadata and parameters. Click on the recordings name link to open the ref:detail_tab_ref. The detected bat calls are listed on the right-hand side. Click on a call to zoom the spectrogram to that call. Review and analyse the recording (Spectrogram, Playback, etc.). Various tools and features will support you finding the correct bat species. Once the species is known, assign it to the recording by clicking the “Select…” link and choose from the list.
You should now have a basic understanding of how BatExplorer works. Importing, reviewing, and classification. Please read the rest of this guide for a more detailed understanding of the software, and it’s advanced features. Enjoy!