Device settings
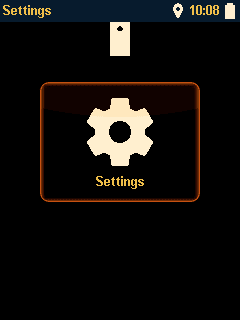
Setup the device according to your preferences.
Context actions
Reset to factory defaults
Press the  key to reset all settings to factory defaults.
Export/Import device settings
Press the  key to export/import to/from SD card.
- Export:
Enter a filename for saving the settings to the SD cards root folder.
- Import:
Place a settings file on the SD cards root folder. A list of files is presented. Select a file from the list and press
 to import settings.
Recording Profiles
To adapt recording profile settings, edit Custom recording profiles.
Display
- LCD Brightness Mode:
Select screen brightness mode
- Automatic:
Screen brightness will be adapted according to the measured brightness of the surrounding automatically.
- Manual:
Screen brightness is fixed.
- LCD Brightness:
Select the desired screen brightness. Depending on the mode, the value is absolute (manual) or relative (automatic).
- Language:
Select the desired display language.
- Units:
Switch the unit of measure (metric, imperial) used to display corresponding values.
- Theme:
Select the desired display theme.
- Font:
Select the desired display font size.
- Spectrogram palette:
Select the desired spectrogram colour palette.
- Frequency guides:
Setup frequency guide lines. Those lines are shown in the recording screen to help you identify bats faster.
- Auto classification:
Enable/disable automatic species classification.
Audio
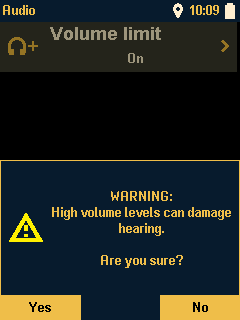
- Volume limit:
The 3.5mm headphones output volume is limited to protect hearing and/or attached devices.
- On:
Limit output volume.
- Off:
Override volume limitation e.g. to use an external recording device or speaker that accepts high output voltages.
Warning
High volume levels can damage hearing. Do not disable “Volume limit” when using headphones.
- Bluetooth audio:
Audio output can be sent to compatible Bluetooth® receiver devices like headphones or wireless speakers. Devices must support A2DP.
Note
Bluetooth® Audio is considered an experimental feature for now. Compatibility and supported devices may be limited.
- On:
Enable Bluetooth® output to a paired device (see below).
- Off:
Disable Bluetooth® output.
- Pair BT device:
To output audio via Bluetooth®, the receiving device (headphones, speaker, etc.) must be paired with the BATLOGGER before.
Follow the instructions on screen.
Put the device into pairing mode. See instruction manual of the device on how to do that.
Place the device next to the BATLOGGER.
Press Next (
) to start scanning. The BATLOGGER will scan for 30s. Available devices are listed.
Press the  key to abort scanning.
A list of available device is presented. Choose a device and press the
key to pair that device.
A paired device will automatically connect when audio is output. The connection status is displayed in the Header bar .
- Unpair BT device:
Unpair the currently paired device.
Clock
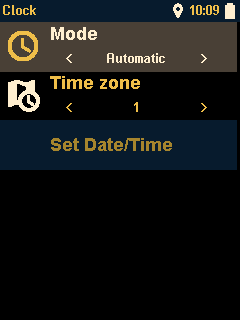
- Mode:
Select internal real time update mode.
- Automatic:
The clock is updated by the GNSS module automatically.
- Manual:
The clock is set by the user.
- Time zone:
Enter the offset to UTC for the time zone the device is used in.
- Set Date/Time:
Enter Date and Time and press OK to set the real time clock.
Actions
- Action Button 1/2:
Configure the action assigned to the
/ key when running a recording session.- Tags:
Edit the list of tags that can be assigned to a recording.
Press the
key to:Add a new tag.
Press the
key to:Delete the selected tag.
System
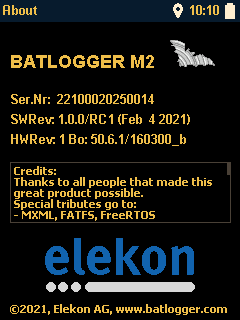
- About:
Display version information and references.
- Format SD-Card:
Format the SD card to delete all data and set it to inital state.
Warning
All sd card content will be lost!!!
BATLOGGER and Non-BATLOGGER data will be deleted. Backup your data before using this function.
Hint
To delete recording data only, use the Delete function of the review File browser.
- Update Firmware:
Update the device firmware.
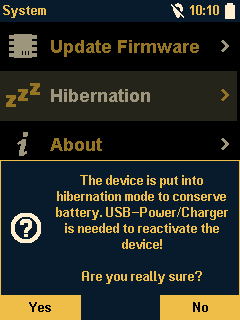
- Hibernation:
For long term storage of the device, e.g. during winter time, it can be put into hibernation mode to conserve battery. The device should be charged to about 60% before hibernation for optimal conservation.
Warning
To reactivate the device from hibernation mode, a power supply is needed. Use the instructions on Battery Charging for reactivation.